The Arduino Uno Microcontroller
- Christopher McKinney

- Apr 28, 2020
- 2 min read
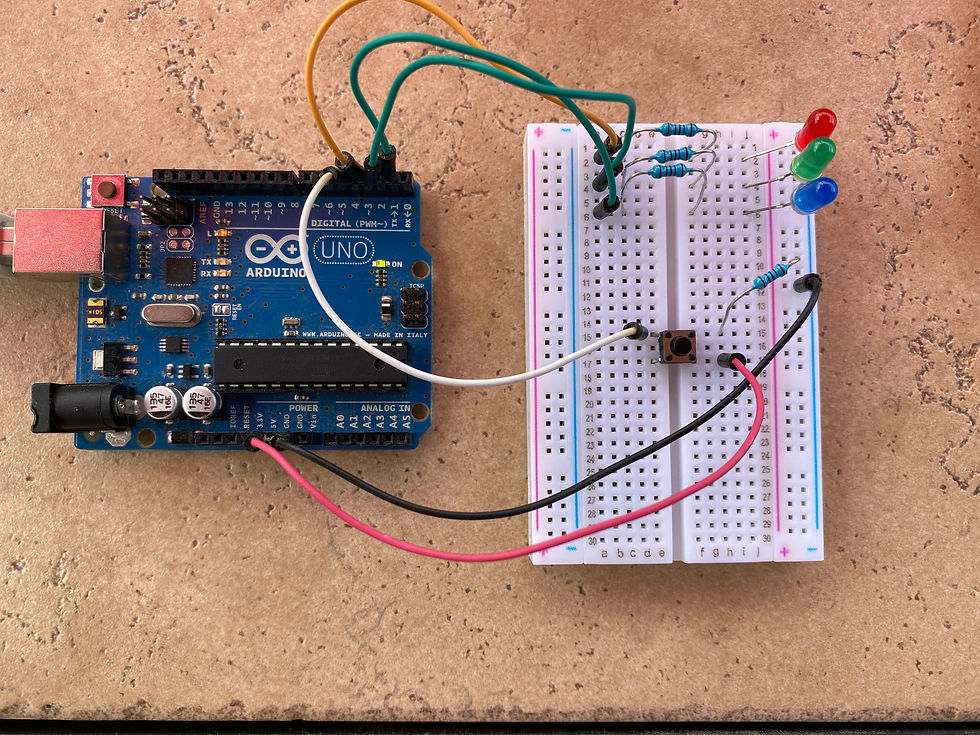
As many of you readers remember in my last post, we learned that basics of circuits using a water analogy and were able to design our own circuit that lit up an LED. In one of the pictures that I had tagged in that blog, you may have noticed a bulky-looking device that I had all of the wires connected to, similar to the one in the picture below. These devices are called microcontrollers are a fundamental tool for constructing electronic projects. A microcontroller allows for several different circuits to be controlled through a computer program that the user designs. As with learning any new hobby, it can often be overwhelming to see all of the capabilities that the Arduino has. Because of this, I am going to only talk about three types of pins (the black holes where wires can be inserted) that a beginning needs to know. As I go through these types of pins, I will be referencing the picture I have included, you will be able to find how each pin is marked using the names I provide in the parenthesis.

The first two types of pins that are the most important types to learn are the voltage supply pins (5V & 3.3V) and the ground pins (GND). The best way to think about this is like the voltage pins are the positive side of a battery and the ground pins are the negative side of the battery. The current moves from the voltage source to the ground pin. These are the two pins that I had connected to our circuit that we made in our last blog post. I had the one wire connected to the (5V) pin on the left and the other wire connected to the (GND) pin directly below the (5V) pin. With these two pins connected, a current traveled from the (5V) pin, through the LED and resistor, to the (GND) pin and powered our LED!
While the ground and voltage pins did not require any coding, the final type of pin will. This last type of pin is called a digital pin. They are on the right side of the picture and are numbered (0-13). These pins are unique in two ways, the first being that they can act as an input. This means that if we were to connect a voltage pin, such as (5V) up to it, it would be able to tell us in the program that there is current flowing through the pin. The second unique feature is that this pin can also act as an output pin that can be switched on and off through the program we write. This feature allows for us to turn on and off the pin like a switch on a battery.
Now that we know some of the features of an Arduino microcontroller, next blog I introduce the programming aspect of the device and show how it is possible to actually control LED's using a switch!


Comments